Invite Admins to Your E-Money
Overview
Section titled “Overview”By adding admins to your e-money, multiple people can manage the e-money together. Permission customization also helps you build an operational setup that matches your business.
Use permissions when you want to record who handled each operation or allow staff to use only specific features.
1. Invite an Admin
Section titled “1. Invite an Admin”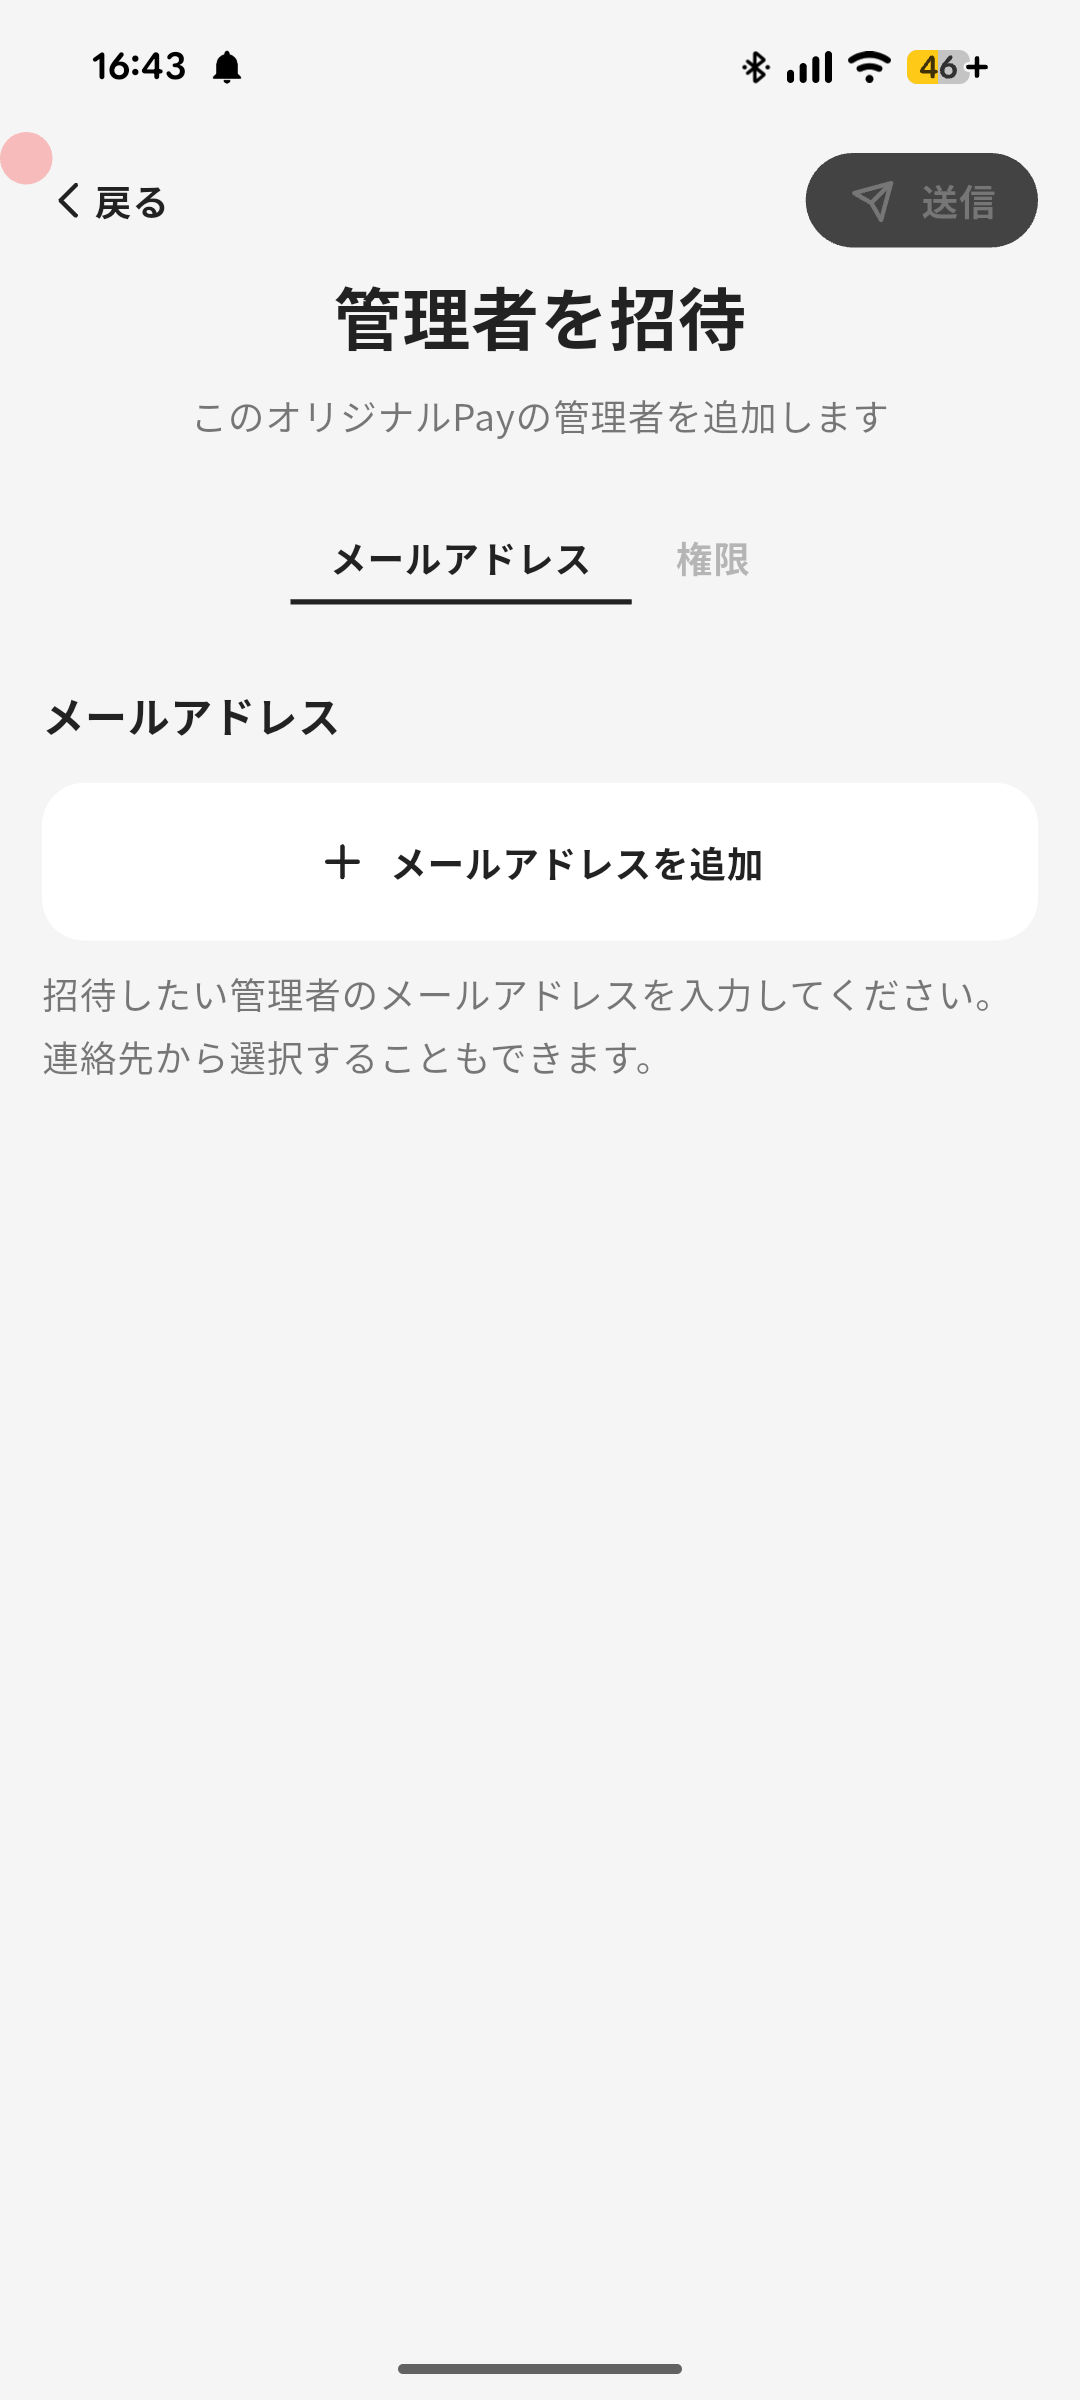
Follow these steps to invite an admin.
- Tap “Menu” in the navigation bar.
- Tap “E-money Admins”.
- Tap “Add”.
- Add the email address of the person you want to invite.
- Move to the “Permission” tab and select a permission.
- Tap “Send”.
2. Accept an Admin Invitation
Section titled “2. Accept an Admin Invitation”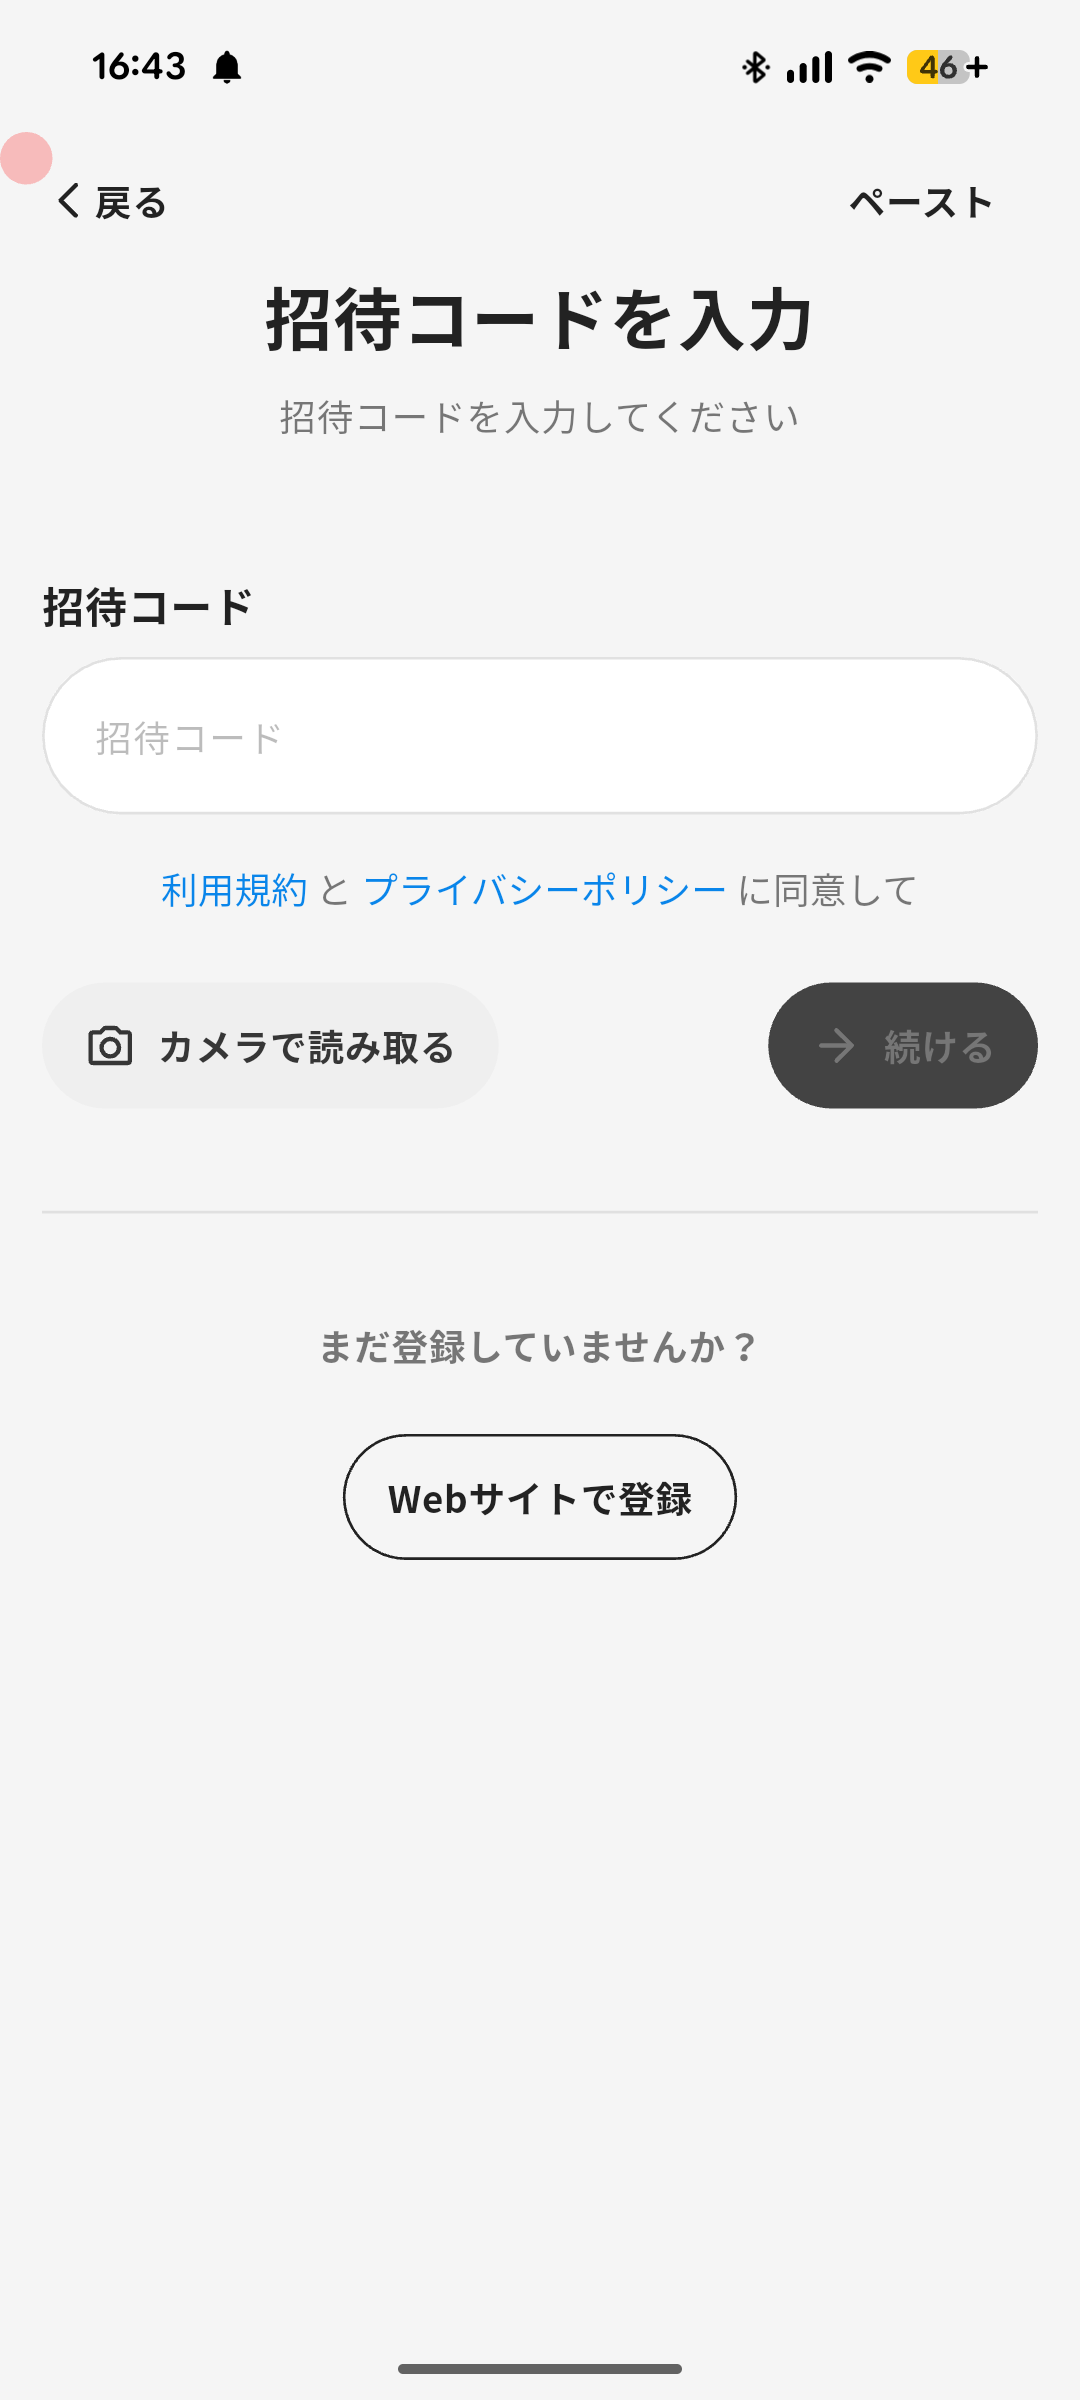
The invited person follows these steps.
- Follow the email instructions and download the app.
- Open the app, enter the invitation code shown in the email, and tap “Continue”.
- Enter a name and tap “Done”.
- Tap the e-money card to start using the app.
Change an Admin’s Email Address
Section titled “Change an Admin’s Email Address”You can change the email address an admin uses to log in. Use it to fix a typo or to move an admin from a personal address to a company address. There is no need to invite them again: their permissions, accessible shops and history stay the same.
The change applies only to this e-money. If the same person is also an admin of another e-money, that one keeps the old email address. After the change, the old email address can no longer access this e-money, and the admin logs in with the new one. No email is sent about the change, so let the admin know.
Go to “Menu” → “E-money Admins” → “All Admins”, select the admin, and use “Edit Email Address” under “Email”.
- Only admins with “Full” permission for “Admin” can change it.
- The email addresses of the owner, yourself and revoked admins cannot be changed.
- You cannot change it to an email address another admin of this e-money already uses.
- If you restrict email domains (below), the new address must be on an allowed domain.
Restrict the Email Domains Admins Can Register With
Section titled “Restrict the Email Domains Admins Can Register With”If you want admins to register only with company email addresses, you can restrict the domains they can use. For example, adding “example.com” means only “@example.com” addresses can be registered as admins, which keeps out personal email addresses.
The restriction applies when you invite an admin, when an invited person accepts, when you change an admin’s email address, and when you reactivate a revoked admin. Invitations sent before you added the restriction are also checked when they are accepted. An invitation on a domain that is not allowed cannot be accepted, so remove it if needed. Active admins who are already registered are not affected.
Set it up from “Menu” → “E-money Admins” → “Domain Settings”. Adding, editing and removing a domain takes effect immediately.
- Only admins with “Full” permission for “Admin” can change it.
- A domain must match exactly. Adding “example.com” does not include subdomains such as “mail.example.com”.
- With no domains added, there is no restriction. Removing the last domain lets admins register with any email address.
About Admin Permissions
Section titled “About Admin Permissions”When inviting admins, you can select from the default permissions below.
You can also customize permissions individually.
Staff: Basic features are available. Settings such as e-money settings cannot be changed.
Sub Owner: Most features are available. Critical actions such as canceling the service are not permitted.
Cashier: Access is limited to cashier mode and transaction history.
Marketer: Only messaging and news features are available.
Accountant: Can use the export feature and view plans and usage details.
No matter which permission is selected, the admin list displays the person as an admin.
Customize Permissions
Section titled “Customize Permissions”ℹ️ The following admins can customize permissions:
- The admin has owner permissions.
- The admin has “Full” permission for “Admin”.
Customize permissions to match each admin’s role.
- Go to “Menu” → “E-money Admins” → “All Admins”, then select the admin to customize.
- From “Permission”, select “Customize Permissions”.
- Edit the permissions and tap “Done”.
Register Customized Permissions
Section titled “Register Customized Permissions”Registering customized permissions lets you reuse them when inviting a new admin for a specific role or changing an existing admin’s permissions.
- Tap “Menu” → “E-money Admins” → “Permission Settings”.
- Tap “Register”.
- Edit the permissions and tap “Done”.